

via: Depositphotos / joelfotos
Want to learn how to grow okra at home?
Growing okra is easy; take it from a gardening expert like me. I've helped tons of plant enthusiasts with my wide collection of how-to guides and planting tips and tricks, so you're in expert hands. I'll teach you the best practices in growing food at home, including when to harvest okra and how to ensure a fruitful harvest every time.
Ready to grow your food? Let's begin.
Contents
How To Grow Okra at Home

via: Unsplash / Mae Monares
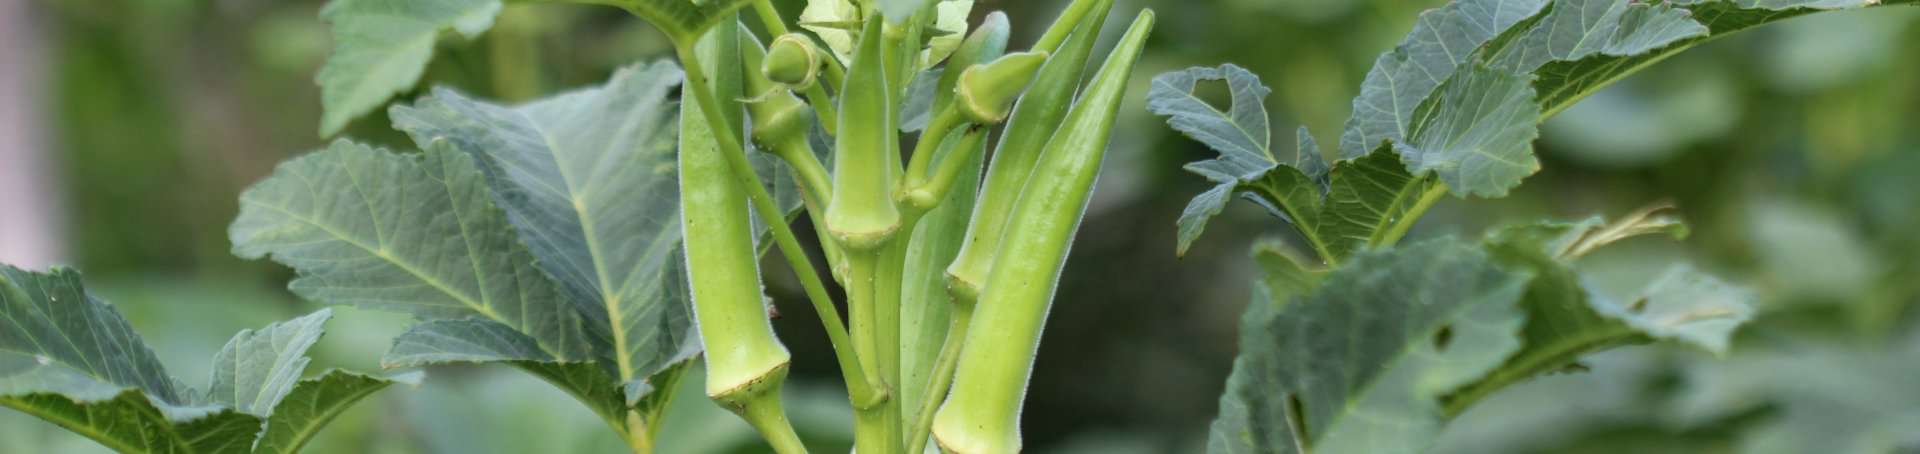
Before we dive into the steps on how to grow okra, let's briefly discuss the plant. Okra, also known as ladies' fingers, is a delicious vegetable enjoyed by people all over the world. Originating from Western Africa and South East Asia, this delectable vegetable is a staple at the dining table for many cultures far and wide.
The okra fruit is known to have a sticky, juicy texture when cooked. Okra is incredibly versatile and an incredible source of folate, vitamins, and minerals. You can serve it boiled, steamed, fried, baked, or in a warm soup.
A great thing about okra is that it’s very easy to grow. Whether you’re in an urban or rural community, you can enjoy your very own harvest within one to two months with the right steps and care.
Now, let's head onto the steps to growing your okra plant at home.
Tip #1: Prepare the things you need
via: Pexels / Karolina Grabowska
When growing your okra, you won’t need a ton of materials. You might already have what you need in your home. To raise an okra plant, you’ll need:
1. Okra seeds
Getting your hands on okra seeds is easy. They’re available in plenty of farming stores. And if you have store-bought okra, set one piece aside and leave it to dry. This single finger of okra can give you around 20+ seeds.
2. Water
Like most food-bearing plants, okras are not fussy regarding water. You can even use rainwater to keep your plants hydrated. Creating a rainwater collecting system can be as easy as placing a tub, a tank, or a drum as a reservoir for water under your roof gutter pipe.
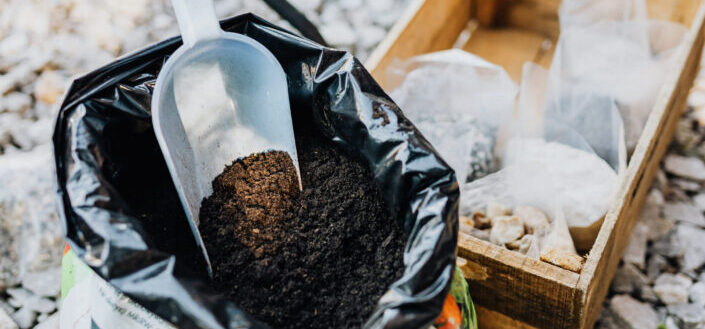
3. Soil
Ideally, your soil mix should be well-draining and airy. This mix allows more nutrients to enter the roots without the risk of root rots. At a pinch, a combination of garden soil, sand, vermiculite, or coco coir at a 2:1:1 ratio is a good mix to start with.
4. Compost
Topping or mixing compost into your well-draining soil mix is a great way to add more essential nutrients (potassium, nitrogen, and phosphorus) to help fertilize your plant. You can either make a DIY compost by storing your food scraps in a container and adding soil at every layer.
In a few months, your compost will be ready and highly beneficial. Otherwise, you can also get store-bought compost at your local gardens.
5. A pot with several drainage holes (ideal for urban gardeners)
You always have options depending on where you want to plant your okra. Okra plants can grow up to 6 feet tall in some cases, so you really have to consider the vessel in which you plant it.
If you have space in your backyard or front yard, you can directly sow okra seedlings onto the ground. However, you can use pots or containers with several drainage holes if you live in an area with little to no space.
6. Fertilizer
For any homegrown food-bearing plant, fertilizing is a crucial step to ensure bountiful yield every fruiting season. Similar to compost, you are free to buy from your local garden or make your DIY balanced fertilizer.
You can make some with crushed dry eggshells or create a potassium-rich blend with some banana peels infused water. Generally, 2 to 3 weeks is enough to make a fermented "juice" fertilizer.
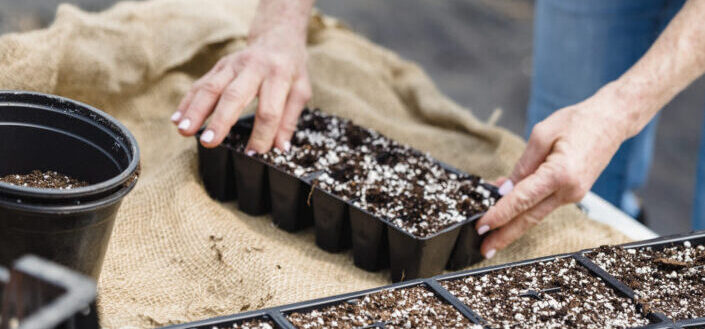
Tip #2: Germinating the Seeds

via: Pexels / Tima Miroshnichenko
Grab a pot and fill it with soil. If you don’t have any pots at home, you can recycle water gallons or even milk cartons and boxes lined with trash bags with holes as your makeshift pots.
Push your finger on the soil at about 1 to 1.5 cm. Place the okra seed in the hole and cover it with soil and water. When germinating the plant seed, make sure to place the okra indoors in a shaded area.
Tip #3: Caring for the Baby Okra
via: Pexels / Greta Hoffman
After 3 to 5 days, you’ll see some growth. During this time, you can place the seedling in a sunny area. Your baby plant needs a minimum of 5 hours of sunlight for it to grow healthy.
Also, make sure that each plant has ample space between each other. It allows the leaves to get more sunlight and prevents pests from affecting all pots.
Tip #4: Encouraging Fruits

via: Depositphotos / struvictory
The key to getting more okra blooms and fruits is pruning. Many novice gardeners are scared to take off leaves from their plants. However, taking off a couple of leaves from your okra plant every week allows it to focus its energy on bearing more fruits.
You can also add fertilizer to your okra plants. Spraying the leaves with a fish amino-based fertilizer once a week is highly beneficial. However, you can substitute it with a fermented fruit fertilizer.
Tip #5: Dealing with Pests

via: Depositphotos / alexkich
Another way to encourage more fruits is by ensuring that your okra plot is pest-free. Getting rid of ants, flea beetles, and other common pests from your okras is simple.
All you need is a spray bottle filled with water-diluted dishwashing liquid. It's also worth noting that some beneficial insects such as bees can help your plant produce more fruits.
Tip #6: Harvesting Okra

via: Pexels / Prateek Nuti
The key to knowing whether the fruits are ready for harvesting is measuring them. Okra fingers that measure between 4 to 5 inches are usually good for harvest.
In some cases, your okra plant might bear larger and longer fruits; you might have to do a snap test. Simply snap the top part of the okra with your thumb. If the tip snaps off of the fruit, then it’s just the right time to harvest. But if it bends or doesn’t snap, the fruit might be too hard for consumption.

via: The Golden
Share This Image On Your Site
Dos and Don'ts of Growing Okras

via: Unsplash / Vitor Monthay
Now that you know the preparations necessary to grow your okra plant at home and the steps from germinating the seeds to harvesting the fruits, it's time to talk about the dos and don'ts of raising okra.
Dos:
- Do prune your okra from time to time. Snipping off some leaves will encourage more yield since the nutrients from the root will go directly to the okra flower and fruits of the plant.
- Do fertilize in the early mornings or evenings. Fertilizing your plants should be done during the morning or evening when it's not too windy, and the sun isn't too bright. This way, the nutrients will evenly disperse into the soil.
- Do keep the soil moist. Any fruit-bearing plant needs water to produce more fruits. Okra is one of the plants that require routine watering to help it absorb nutrients from the soil better.
- Do harvest as soon as the fruit is ready. Okras produce fruits very quickly. In fact, you might need to harvest a few times a week.
- Do save seeds for the next season. To ensure that your harvest remains at the same rate, planning ahead and germinating new batches of seeds is important. Harvest pods and keep the seed pod in a dry place.
Don'ts:
- Don't immediately plant seeds without preparing them. If you're planning to germinate seeds for future planting, make sure that you let the okra pods dry. This helps the outer cover of the okra pod to peel and the baby plant to sprout faster. To summarize, a dry seed has more chances to grow than fresh seed.
- Don't plant your okra too close together. Okra plants can grow really big, so you have to make sure that they have enough space to grow. Unless you've planted them in separate containers, make sure to space the plants about a foot between each other.
- Don't overfertilize the soil. Excessive fertilization can do more harm than good to any plant. So only fertilize your soil once a week at most.
- Don't let the okra fruit grow too large. Again, letting your okra fruit grow bigger makes it impossible to eat. It makes the fruit too tough.
- Don't be afraid to cut your okra plant short. Pruning is crucial when you want to encourage your plant to grow more fruits.
Frequently Asked Questions

via: Depositphotos / rizamosta87
Have more questions about planting okra at home? I'll answer the most asked ones here.
Can okra grow in pots?
Okras are resilient plants; they can grow pretty much anywhere with enough sunlight. That said, they, as well as other companion plants, can easily grow in pots (peat pots or other containers). So if you don't have any room in your front or backyard to plant, you can easily switch to using pots to create your sustainable home garden.
What is the best month to plant okra?
As a plant that mainly thrives in the sunlight, okras are ideally planted around springtime. Any okra variety can grow quickly and be ready to bear out flowers and fruits in about a couple of months after planting.
How many okra plants do I need?
That depends on your needs. A single okra plant can produce several fruits in one week, which may require you to harvest regularly. If you and your family love okra, you may plant as much as you want as long as you can care for them.
Do okra plants come back every year?
Generally, okras are planted annually and have summer as their main growing season. These summer-heat-loving plants need warm weather, soil temperature, air, and sunlight to grow and bear fruits. So they'll most likely not thrive during the colder months.
More Helpful Articles to Read
Want more resources to fulfill your homesteading and vegetable garden dreams? Here are some helpful reads I want to share with you to help you become a master gardener:
- Learn how to plant succulents and properly care for them here.
- Want to know how to grow an avocado tree? Find out how from this helpful guide.
- Create your own prickly paradise by growing cactus in your home. Discover how to propagate cactus here.
Conclusion
Now that you know how to grow okra at home, it's time that you put your newfound knowledge to the test.
Remember, there are no wrong answers when it comes to caring for your plants.
You only need to have patience and be willing to do the hard work. Soon enough, you'll be rewarded with the fruits of your labor.